


Day 109 Wednesday 9th July 2014 Declination Axis Balancing Step B.
Declination Axis Balancing Step B
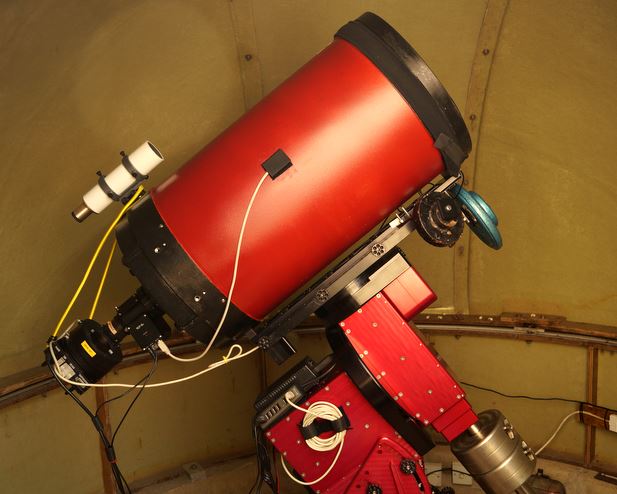
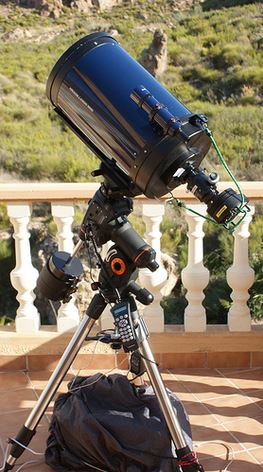
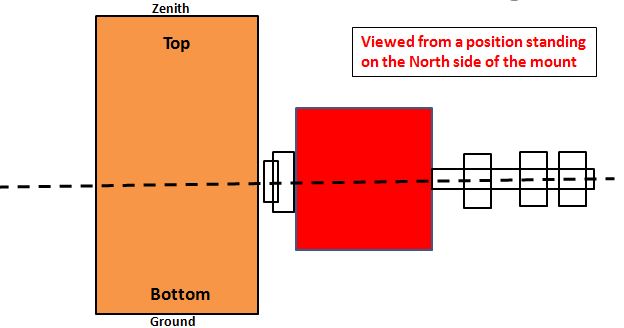
1. The OTA is now rotated on the declination axis so that the telescope is pointing at the zenith – i.e. straight up. If it balances in that position you are lucky – but it will most likely drop to one side or the other.
From the North(below)
From the East (Below)
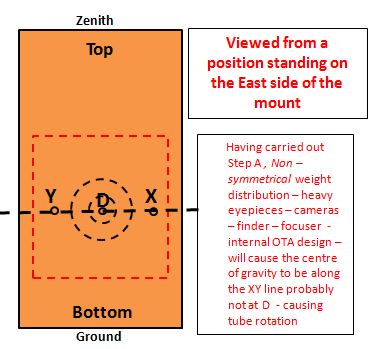
2. Note that the line containing points X and Y referred to in Step A is now horizontal. If the centre of gravity is at point D the tube will remain vertical. If the centre of gravity is on the point X side of D then the OTA will rotate clockwise as seen from the east. If the centre of gravity is on the point Y side of D then the OTA will rotate anticlockwise as seen from the east.
3. In my case I found that the centre of gravity was on the X side of the OTA and it rotated clockwise.
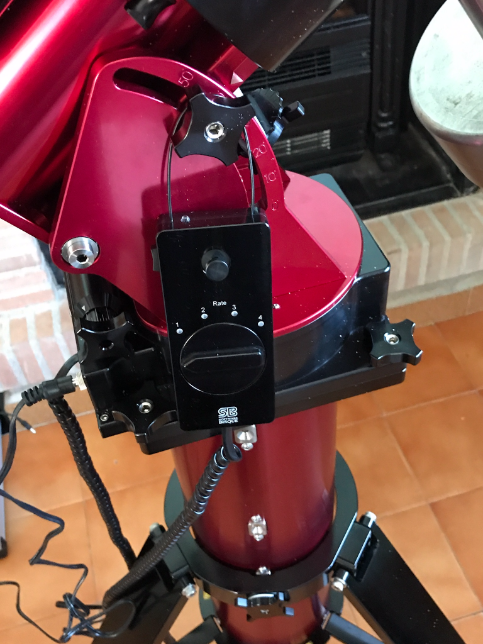
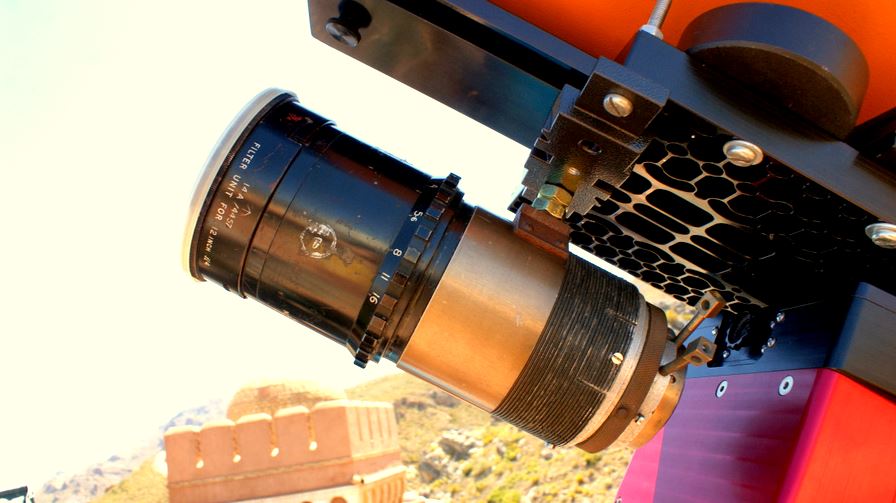
4. To counteract this I added a small weight to the “Y” side of the OTA on the Versa Plate (saddle). This weight balanced the OTA in the vertical position and was sufficiently small to not disturb the balance in the horizontal position. Strictly speaking you should only add extra weight in line with the existing balance weight to avoid disturbing the balance achieved in Step A. (i.e. Don't put weights further up or down the tube in Step B). I did not have the necessary counterweight bar in Spain to be able to move the counterweight(lens) sideways so I had to improvise. You need some element of trial and error here to find the correct weight and location for the weight.
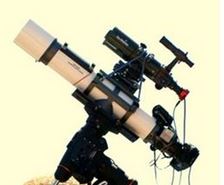
On Day 25 I included a video from Robert Brown that related to the CGEM mount that illustrates an alternative way of doing this to mine. Here it is again.
A much smaller setup with Robert Brown's CGEM but it illustrates the need to move the weight sideways in Step B - this time by screwing the counterweight into the side of the counterweight bar to get the necessary movement of weight towards the right in his case.
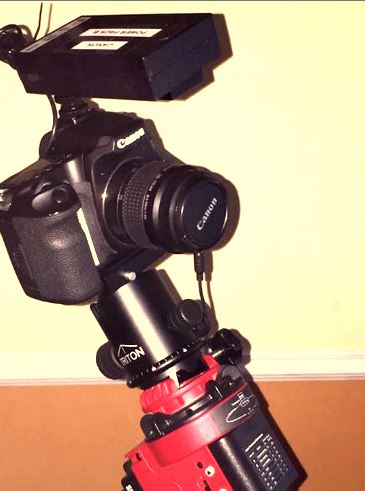
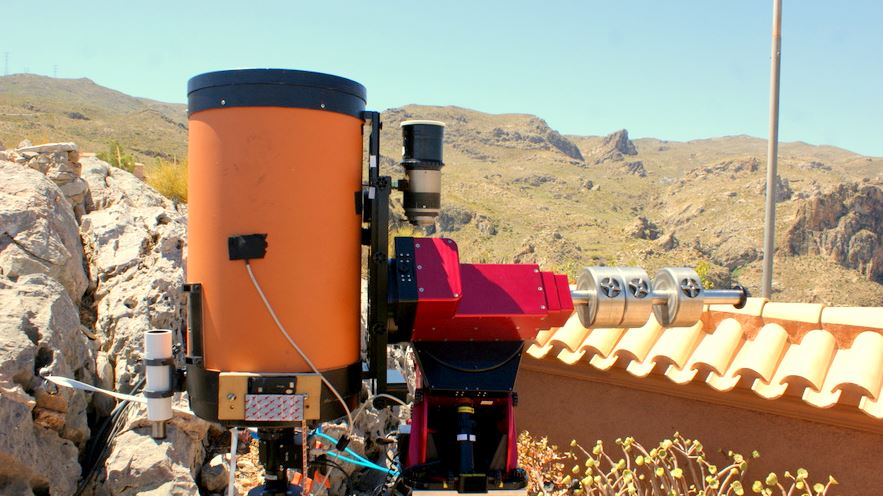
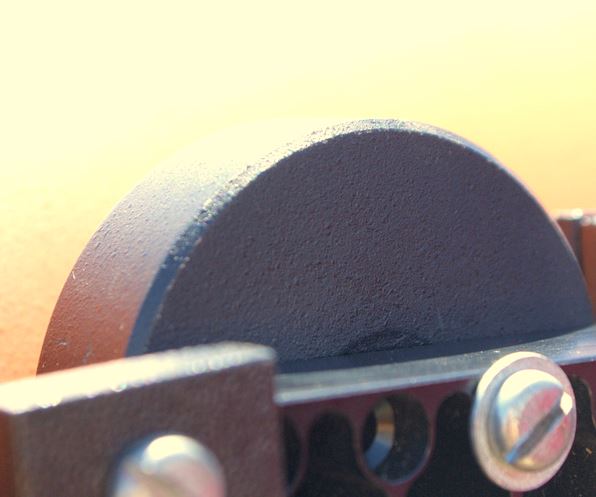
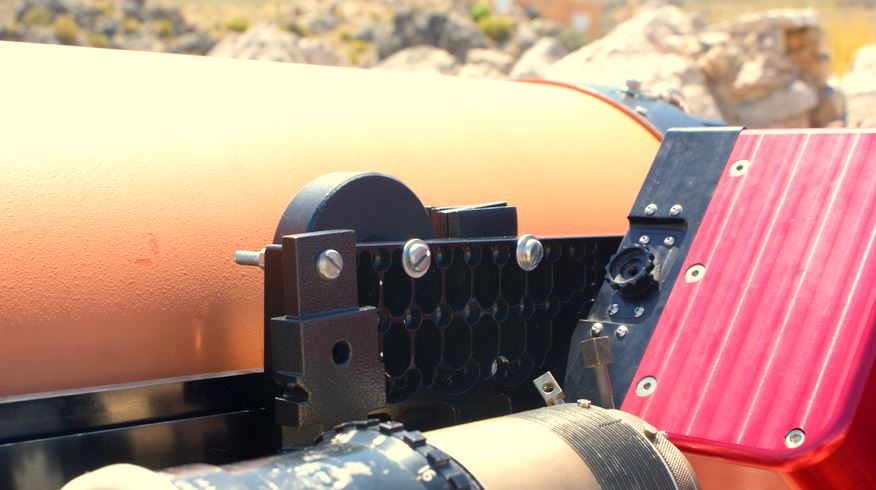
The above image shows the small balancing weight I added to get Step B balance to the right of the balancing lens. The small weight is bolted to the Versa Plate on the Paramount ME. This is shown below.
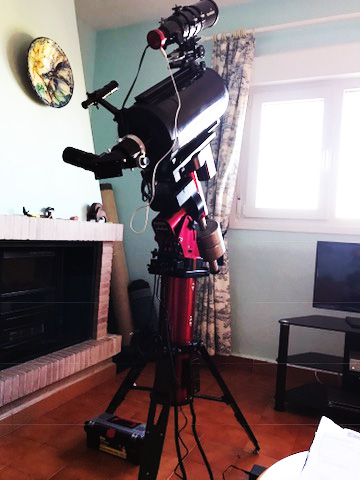
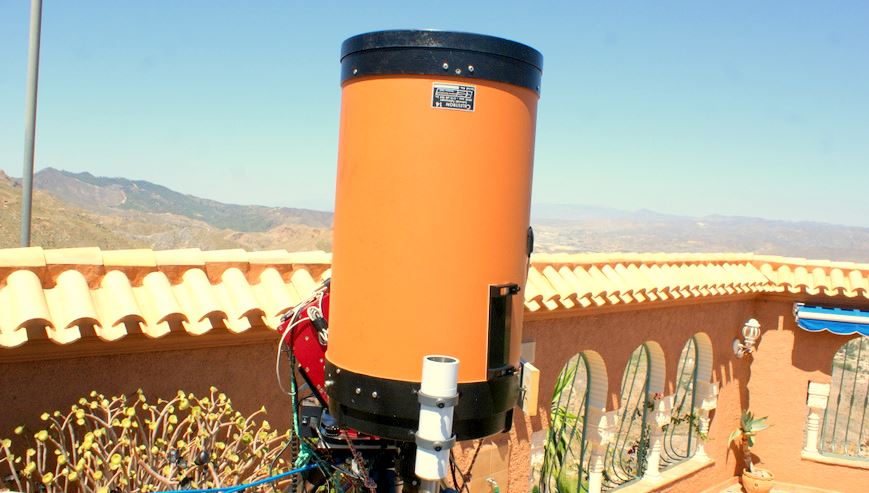
5. HOWEVER I then realised that the camera was not in the correct angular position to have North/South at the top of the images. I had to rotate the non-symmetrical camera 90 degrees to get the angle correct. When I did that the OTA was out of balance again. I had to add a small additional weight to the OTA to counteract this and ended up with the declination axis in balance in horizontal and vertical positions. 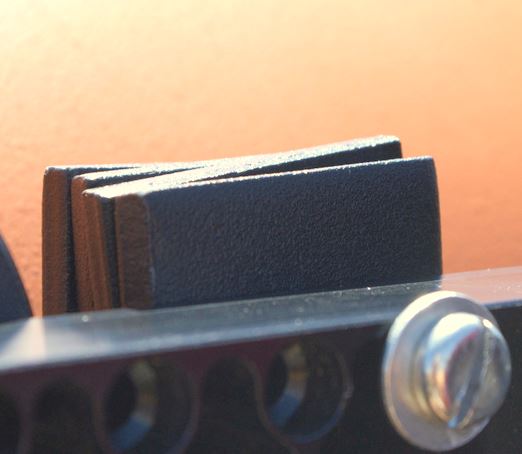
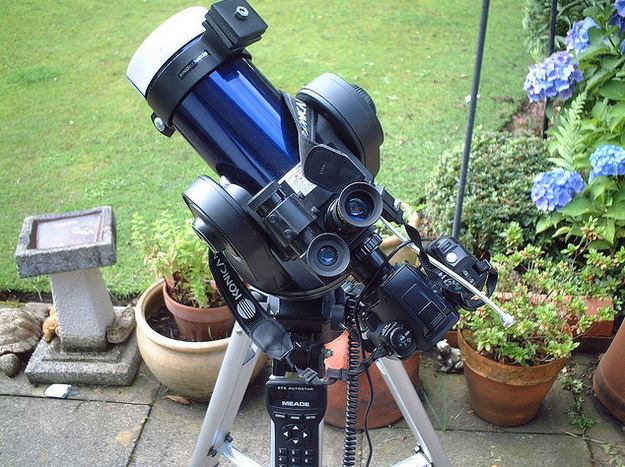
The image below shows the final arrangement to get the declination axis balanced.
To be continued..............
 [Your Name Here]