Jupiter through the clouds. My Portable Equipment Part 2
 Saturday, January 2, 2016 at 8:23AM
Just in case the sky was clear I checked at 3.45 this morning. Cloud everywhere but Jupiter was so bright at magnitude -2.2 I could see it through the clouds as it approached the meridian.
Skywatcher Star Adventurer Portable Setup Part 2
The image below labels the parts of the setup
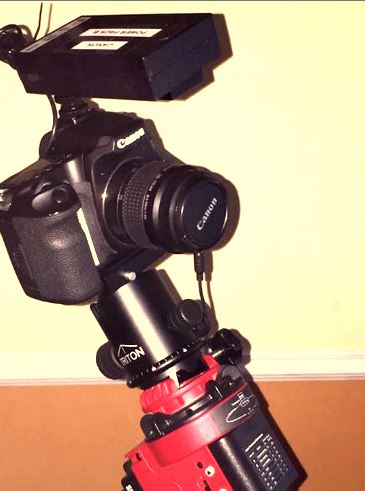
The image below shows the output from the external battery for the camera feeding to the dummy battery. The voltage is higher than that provided by the original internal battery so if you try this it is at your own risk. It seems to work OK and I only tried this after seeing reports from others who had used this battery over a period of time successfully!
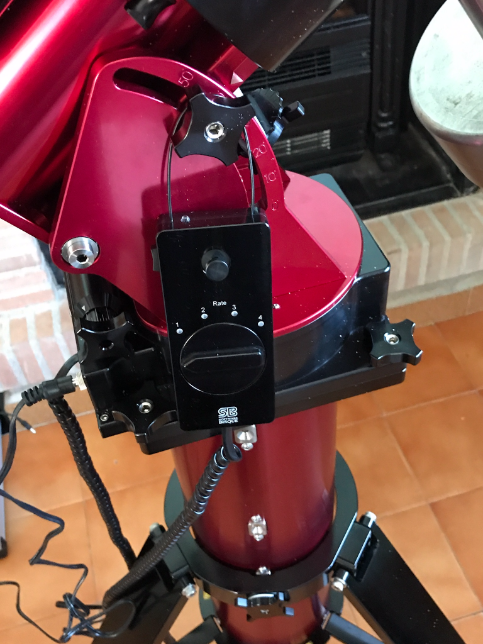
The external rechargeable battery for the camera has outputs at 12V, 9V and 5V (USB). I use the 9V output to feed to my dummy battery and this works very well. I can use the 5V USB output to drive the Star Adventurer mount at the same time but clearly this will deplete the battery more rapidly and there will be a trailing lead from the moving battery on top of the camera to the static mini USB input to the star adventurer which will wind the cable around the camera as the mount tracks the sky during the night - not a good idea. So - I have a second identical battery that is attached to the tripod feeding only the mount 5V input removing this problem. If either battery were to go flat the appropriate output from the other battery can be used in an emergency - monitoring the cable being wound up very carefully!
TO BE CONTINUED
 [Your Name Here] | Comments Off |


